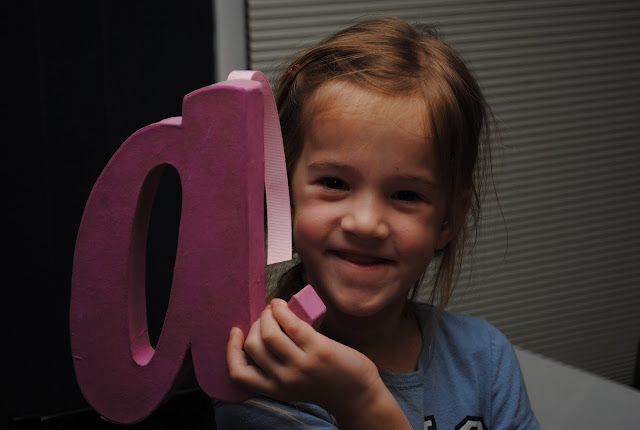
#1. For Abby's room, we created a fun way to display her initials. Last year Abby painted some paper mache letters a bright pink. I have been thinking about displaying them more predominantly. Since she sleeps in my childhood bed, my parents had recently given me an antique frame and picture that use to hang with the bed. Sadly, the picture was ripped and torn after years of storage. It has been ripped too far to be used with the antique frame. So I decided to salvage the frame and keeps it's heritage alongside my antique brass bed.

I sprayed primer all over the frame before we got started. I probably could have gone straight to the top coat but I didn't want to risk it. For the top coat, I used a semi-gloss white spray paint. Lately I have been using spray paint for projects and I really like it. It is a lot faster! And I don't see all of my mistakes from brush painting.
After it dried, we brought the frame inside and laid out the letters to make sure they fit. And they just barely fit. I gave Abby a choice of 3 ribbons - she quickly picked the pink polka-dot pattern.
We took a hot glue gun and attached the letters to the back of the frame. We also undid the old wire from the back and attached a small hook for hanging the frame. (what are those things called? I have no idea...)
Abby was my big helper! She even helped drill the screws into the back of the frame. I want her to know how to use power tools at an early age.
Here is the frame hanging in Abby's room. Abby couldn't wait to show Mark when he got home.
#2. The side project was a little update to our weekly activity board. I had hung an old white board in the kitchen a while ago and it just wasn't quite right. It has been bothering me for a while. It has functioned just fine but aesthetically it wasn't quite what I was going for.
So today, I took it down. And, ummm, let me show you what is behind my activity board....
This house was wired with a 1960's intercom system that never worked. So one day, I decided to take it out. But I didn't really want to waste my time dry-walling because one day I want to re-do the kitchen. So, I just covered it up. I know...shame, shame.

I took the same spray paint primer and covered the white board. Then I took my handy chalk-board paint, and gave it two coats.
Now I have a magnetic chalkboard that I love! I have seen a lot of ideas around Pinterest on how to create a magnetic board. Cookie sheets, plywood and scrap metal, etc. I just wanted to use what I had on hand.
All in all...a very productive day! And I didn't spend any money. My one pint of chalkboard paint from 5 years ago is getting a lot of use lately! Granted, the spray paint was a recent purchase. But even for $8, these were low budget projects. I love rainy days.


No comments:
Post a Comment