Thursday, May 31, 2012

Building a treehouse is a lot of work.


 I don't think I knew how much work it would take to build a treehouse.  Maybe that is why I kept pushing my husband to build the kids a treehouse...niavely thinking that it would be a 2 day project.  And he is so wonderful.  Even despite his better judgement, he took my prodding and invited his dad to come for the weekend to build a treehouse.


If you missed my earlier post, here is some of the planning that went into the treehouse.  Again, I HIGHLY recommend this and this book by Stiles.  They were so handy - they covered every detail from lag screws to rope bridges.  One of the books had detailed plans for a tree house that used only 1 tree.  It even had a lumber list.  So we began our long weekend of tree house building.


First up was building the brace on the tree.  This might look like a simple job, but the guys would say it was one of the harder aspects of the treehouse building process.  Even though the book walked through the measurements, you have to account for the curve and branches of your particular tree.  This brace will get stronger over time, as the trunk grows around the lag screws.


Next game digging for the corner posts.  The book instructed us to dig down 30 inches.  Have you ever tried to dig 30 inches straight down?  I think Caleb was the only one who found it "fun."


Once they had the posts dug, the deck frame was built.  This beast was heavy.  The framing used 2x6 boards, eight feet long.


Lifting the deck frame and the 4x4 posts at the same time was a 5 person job.  Our kind neighbors came over, as it was begging to rain, and helped lift the load.  We had to lift the frame has we lifted the 12 feet long 4x4's into their 30 inch holes.


This is the moment the men realized that the holes weren't in the right place.  Night had fallen, but they kept digging until they got the frame in place and level.  The guys were tired that night.


The next day was mother's day, and everyone took a break from treehouse duty.

On Monday, the rain had stopped, the deck was level, and it was starting to look like a tree house.  I think this is when it started to be fun.  The men had much happier faces.


It seemed like things moved a lot faster after the posts were in the ground.  The guys started working on the frame for the "house" of the tree house.  As you can see, it was tight quarters.


Again, the guys worked until late at night.  The nail gun was due back the next day, and Tim had to drive back home.   Thanks Tim!!!!


We took a break for a few days so that Mark could get back to his real job.  And I could stop driving to the hardware store.  Did I mention I was the errand girl for this project?  They did let me use the nail gun a little - but I think my main duty was lumber.  I believe I made 12 trips to Lowes or Home Depot.  And yes, you can fit a 12 foot board in an Acura MDX.


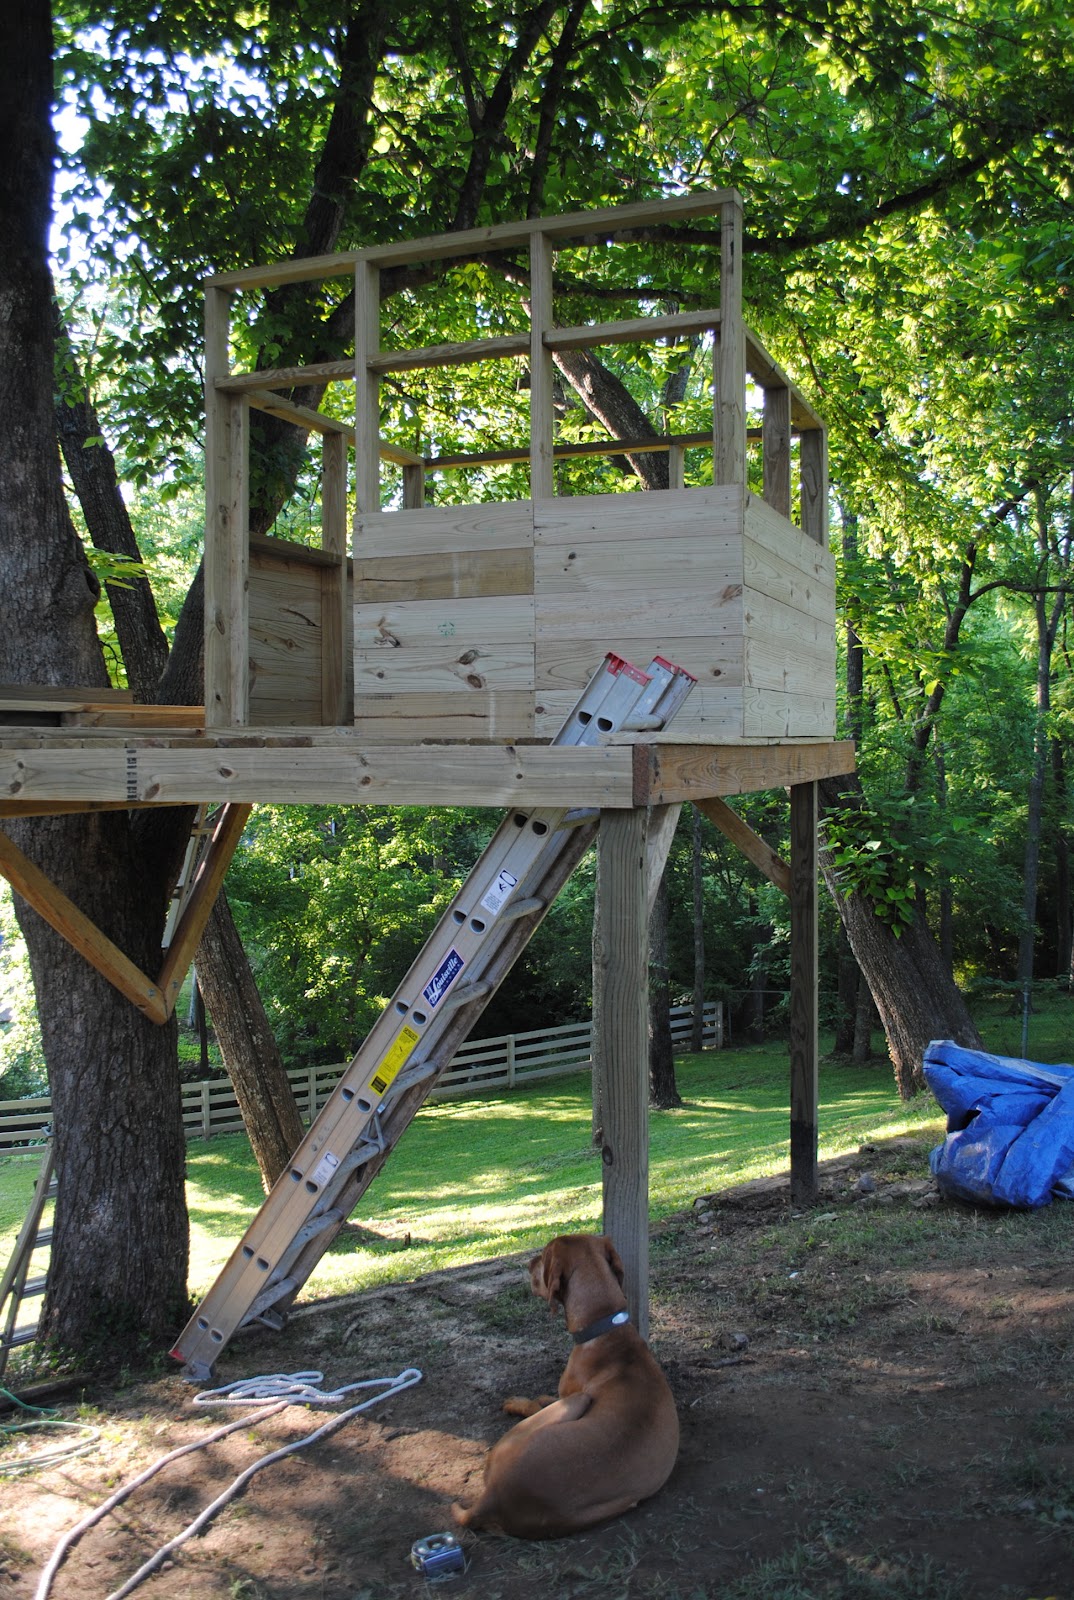
Here is the progress after one very long, hard weekend of work.  The kids couldn't wait to get in the treehouse.  I had to watch them carefully during the week while they played in the fun tree house with no railings and no ladder.

Details, details.


Mark also made them an old school rope swing - with a little board to sit on.  I think this is one of their new favorite outdoor activities.


Over the next weekend, we hired a babysitter to watch the kids while we worked as hard as we could to make some headway on the finer details of the treehouse.


My priority was a ladder for the kids.  I made this "bridge" out of two 2x12 boards, with 2x2 cleats.  I am going to attach it to the tree house and let it be a bridge to our retaining wall.

I also attatched 2 handles to help lift up the bridge.  It is too heavy to be a draw bridge, but we might need to move it for mowing the grass.  I still have a few cuts to make - but I had to call it quits when my babysitter had to leave.


Mark added some more supports to the decking, using lag screws and carriage bolts.  This is one solid treehouse.


Next, Mark attached a roof.  The boards are pretty close together - this thing should be pretty rain proof.  I think the kids will be camping up here soon!!


I was in charge of the railing.  This took some help from Mark since one person had to be on a ladder drilling the holes for the carriage bolts into the frame, while the other person held the 2x4 in place for the railings.  I am still going to add rope in between the railings.  This took a lot of measuring and a lot of cuts.

Not too shabby, huh?


This is the view from the back of the tree house.  Because we live on a hill, the tree house feels like it is 40 feet in the air.  The front is only 5 feet off the ground, but the hill is steep behind the tree.


This is our AMAZING treehouse!  We aren't finished yet - but I couldn't wait to show everyone what my hubby built.  Thanks to Tim and Mark (and DeWalt) for a very fun place to play.


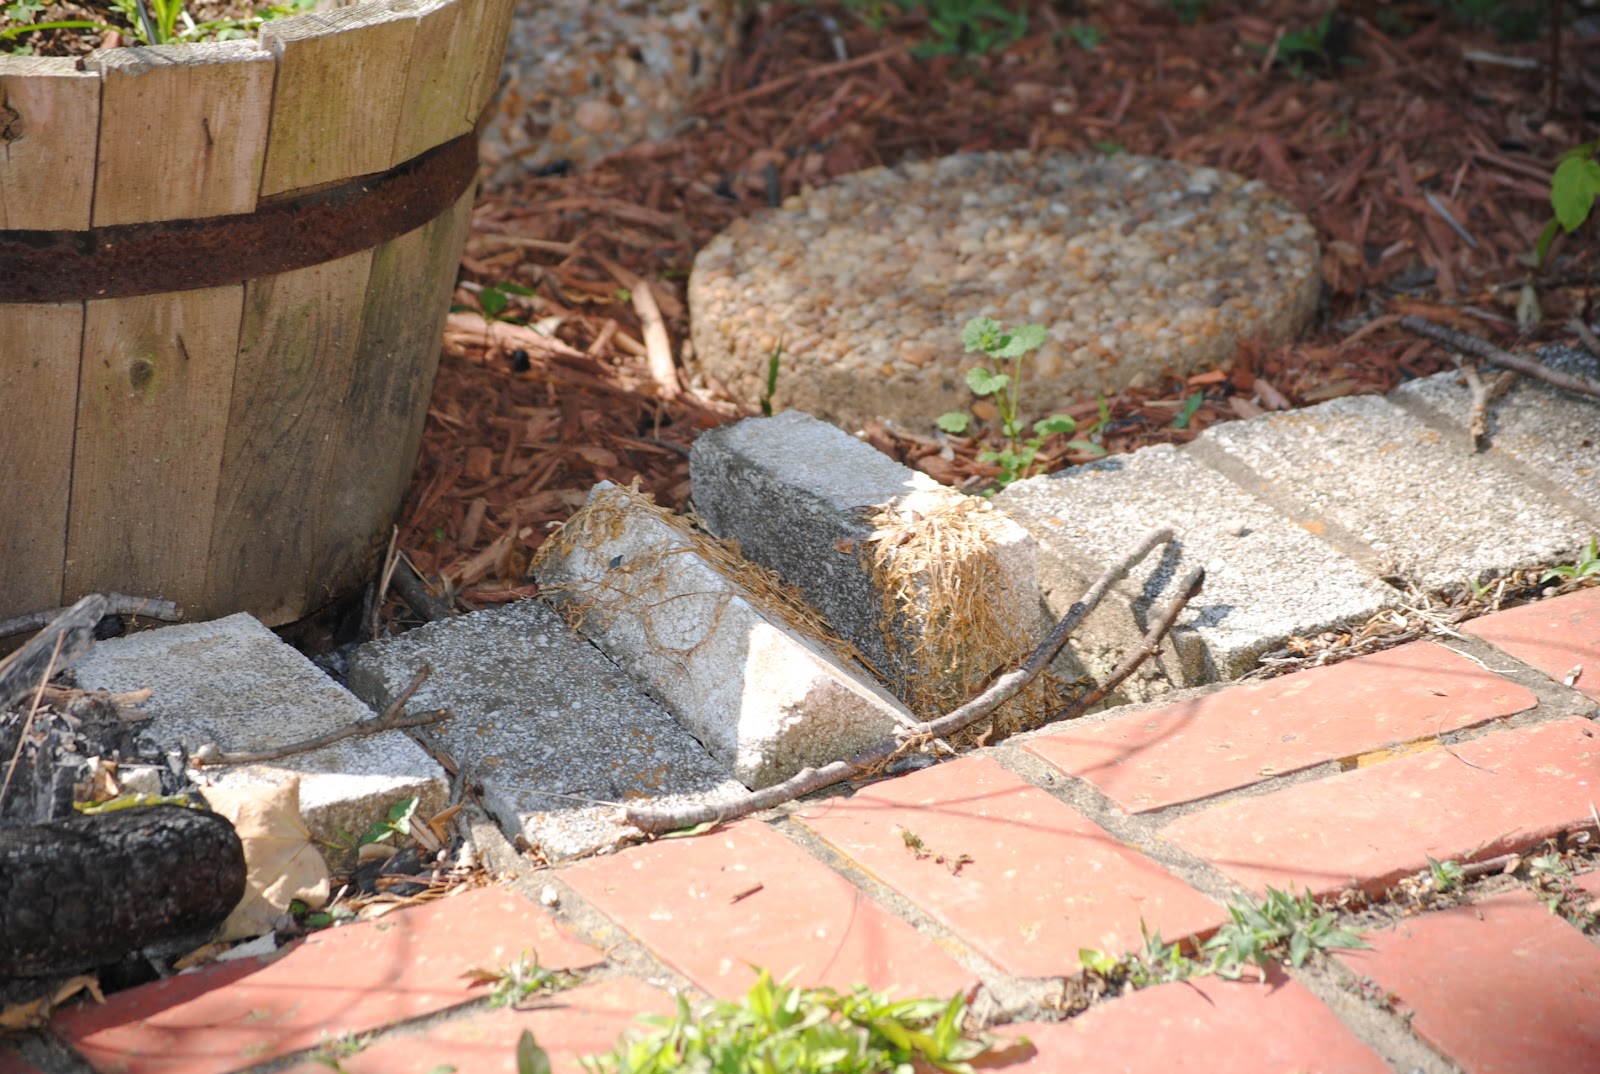
This is what it use to look like...


Now we have this...


Can you tell that Abby likes it?  She doesn't care if there is no rope on the railings.  Her daddy made her day already.

Next up - swings, trap doors, rope railings and of course a pulley.  I will post more pictures as we progress with the finer details.


Pin It


Saturday, May 26, 2012

The new patio

  The past few weeks have been a little crazy at our house.  Mark and his dad have started construction on an amazing tree house.  I am at awe of there patience and skill.  Especially their measuring abilities.  Perfect. Meanwhile, a landscaping crew has started working on our new patio.  I have tried to take pictures at the end of every day - but these guys have been working hard.  The patio wasn't in great condition to start with.

This was our patio:


Someone had constructed their own hand laid brick patio - maybe 10 or 15 years ago?  It has been sagging and crumbling since we moved into this house.


First step - we rented a pressure washer and "we" (Mark) cleaned the steps for our sun room.  Wow.  What an amazing difference.  The contractor kept asking if we had just hired someone to put the steps in.  They look so great.  We wanted to be ready for the "hard scape" crew to begin the project.  Then they arrived...

Day 1 of patio work - demolition.


Goodbye brick patio.


The crew also put concrete footers on our stairs and raised one side an inch to make it more level.  Needless to say, things are a little "sagging" at the back of our sunroom.


Day 2 - concrete discovery.  Once they removed the brick patio, they found another concrete patio underneath.  We had decided on cobblestone pavers for our new patio - but Darren, our landscape designer, gave us the option of a flagstone patio once he discovered the concrete.  At the same cost.  Yippeee!!!!  (that is what I really wanted - but the pavers were cheaper)


We also have a sprinkler system in our yard - that we have never been able to turn on.  And with the demolition, we discovered that the sprinklers went through out our grass area.  Wow.  Now we need to see if they work.


Day 3 - more concrete and rain.  The guys spent a lot of the day leveling out the area and pouring concrete.  Then dusk hit around 7 pm and the guys were forced to stop.  Not only were the deck steps slanted, so was the concrete that had been poured...20+ years ago.  So they put in more concrete to make the patio bigger as well as leveling the old concrete slab.


Oh yah - I made Mark get one of the big rocks they dug up.  I wanted it for the kid's rock garden.  Isn't he a great husband?


Day 4 - beautiful flagstone arrives.  I love flagstone.  The crew started placing the flagstone and designing the curve of the patio.  Unfortunately, this is when the rain began.  It lasted a few days, making progress pause on the patio.  They came back a few days later and cleaned up debris.  But there was no progress on the patio for a few days.


Day 5 - I should say day 5 of work.  They made a lot of progress on laying the stone.  It started looking like a patio!


Day 6 - For some reason there was only one guy working for the past few days.  Our dog was getting a little tired of being cooped up in his crate.


When they removed the old ugly brick step, this ugliness was left behind.  The crew designed a little ledge to hid the ugly foundation.


And here you can see the ugly old brick patio under our sun room.  Remember that our old patio was crumbling and un-level?  Yep, that is what is holding up our sun room.  Let's not think about that...


Day 7 - This is the "completed" patio.  They still need to come back and pressure wash it in a few weeks, and lay grass seed on our dirt mound.  But we can't wait to use this space!!


They even put patio steps in for us.  Obviously, they need to fill in the few cracks.  This is a huge improvement over the cinderblocks that were left by the previous owner as "steps."


And that is our patio!  Next post - our new tree house.  I still can't believe we did both things at the same time....  I will take another picture once it is washed and has some kind of furniture on it.  Come on over and enjoy our patio!


Pin It


Tuesday, May 8, 2012

Our new "mud-room" bench


We have been cleaning off our old brick patio in preparation for our new patio that is being built as I write this post.  One of the things on the old patio was a HUGE potting bench that I made 6 years ago.  It hasn't been used in the past 4 years.


So I made it into this "mudroom" bench for our garage.  


We love it.  And since this is not very duplicatable (unless you happen to have a monstrous potting bench laying around), I decided to do the rest of this post in pictures.  What I loved about this project - getting to use another shower curtain, a circular saw and a staple gun.  A very powerful staple gun that was sold at Target.  It can also shoot small nails.  I want to use it again.  The end.


Pin It