I am FINALLY starting on the kid's bathroom redo. If you missed the "brainstorming" post, check it out here. My kids have some strong opinions about decorating their bathroom. Caleb wants nature, Abby wants stripes. I want wallpaper and my husband wants nothing to change, and has banned wallpaper from the house. Argh. But what about Nate? He is just plain adorable...he can have whatever bathroom design he wants.

I decided to attack the new shower curtain first. And of course, I couldn't just go buy a shower curtain. I had to be difficult and fall in love with this fabric during my last visit to Ikea.


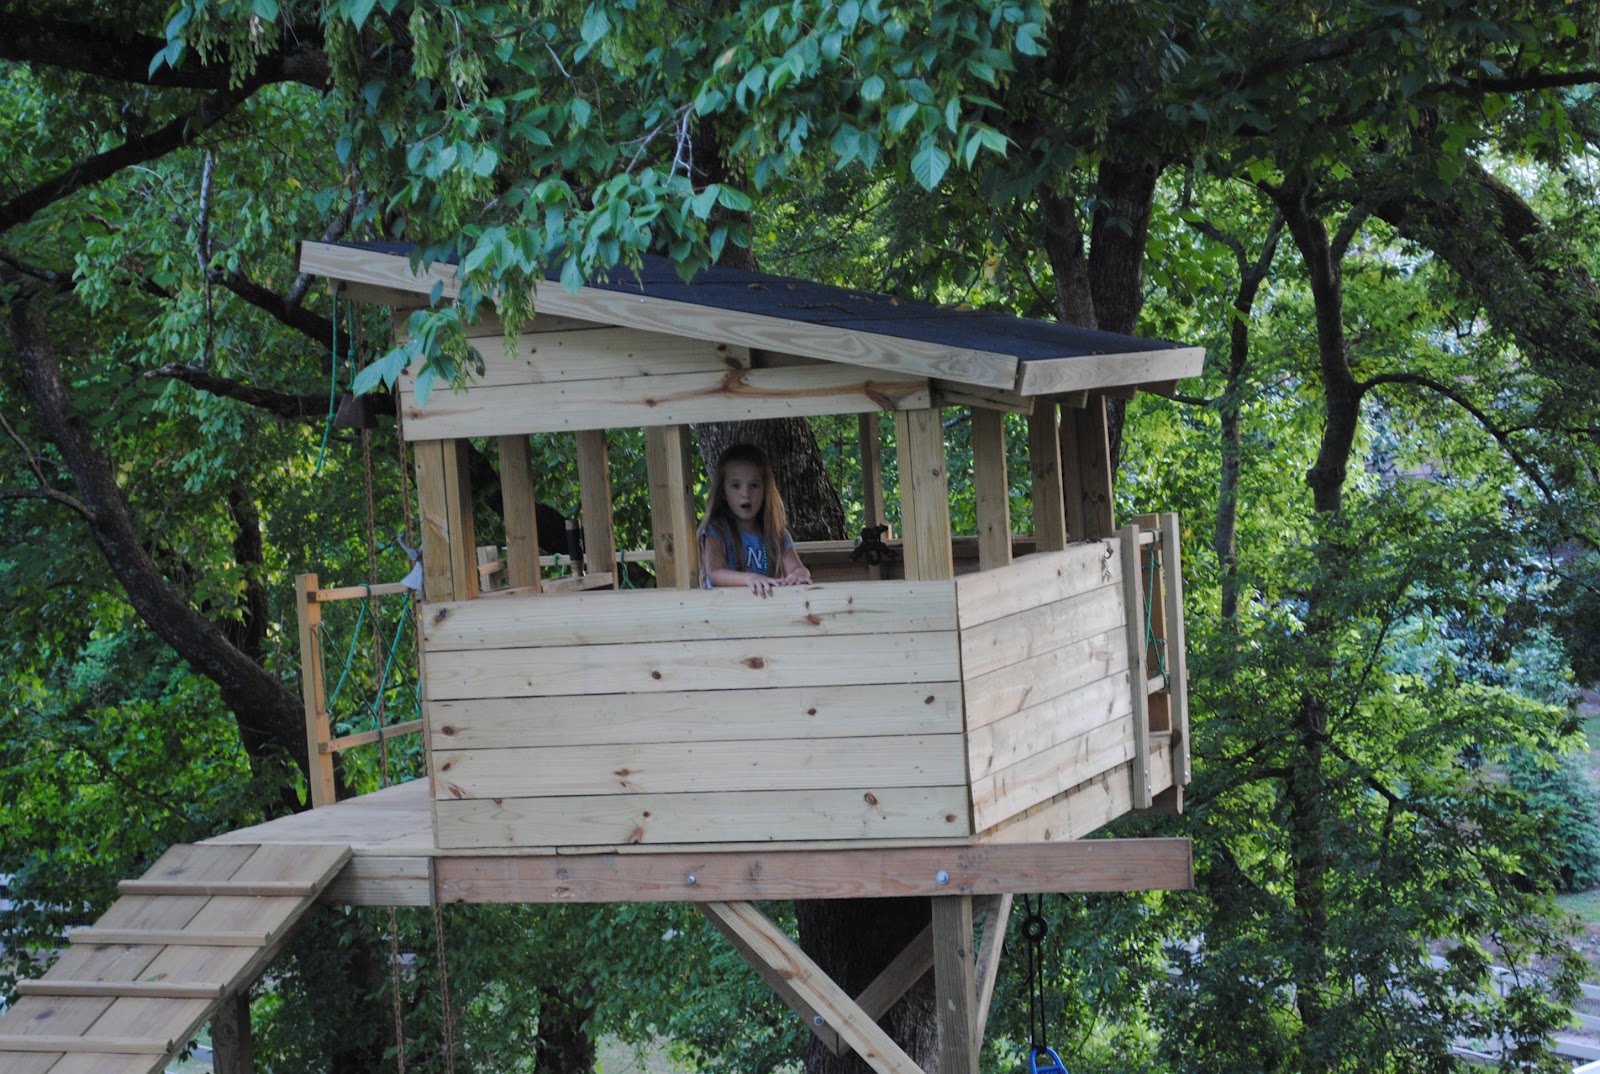
I had orginally bought the fabric thinking that I would make curtains for the kid's treehouse. But alas, curtains were voted out. I had bought 4 yards and a standard sized shower curtain is 70 x 72. And my fabric was 59 inches wide. So I cut it at 2 yards, and laid the two pieces side by side, and found where the pattern repeated itself.

I pinned it very carefully...I really wanted the seams to be lined up perfectly. I pinned them overlapping, instead of back to back. The good news, my trees are perfectly lined up. The bad news...it was really hard to fit all of this fabric side by side in the sewing machine.

This is the moment I changed from boring shower curtain to fun shower curtain. I decided that I wanted an extra long shower curtain. And with grommets. But there is no Ikea in TN, so I couldn't go buy more fabric. So I grabbed one of my clearance shower currains from Target.

I cut as much white fabric as I could, from the top.

I like grommets but I don't like installing grommets. This seemed like a good way to cheat.

The sides were already hemmed, so I just needed to hem the bottom. I decided to do a wide stitch, since this thin fabric would be holding up a much heavier fabric. I really don't know if that helps anything...but I'm going with it.


After hemming the tree fabric on top and bottom (and trimming the fabric since I made the pattern line up), I attached the white top and tree bottom. I wanted my seam in the middle, and I pinned the fabrics back to back.
All I had left was to hem the extra wide tree sides to fit the size of the white fabric. I could have cut off 5 inch strips from both sides...but I opted to create huge side hems. Three reasons...one, I thought it was pointless to have 5 inch strips of wasted fabric. Two, I noticed that the tree fabric was fraying easily on the sides that I had cut. The fabric had a nice finish edge on both existing sides. Three, I'm lazy. So I folded the fabric over and made huge hems on the sides.

I headed down the hallway to hang it up. My helper came with me.


And here is my awesome shower curtain. I really wish I had a better picture. The bathroom is long and narrow, and it is really hard to get a picture of the shower curtain hanging up. Everyone loved it! (Win!!) Even Mark said that it brightened up the bathroom.

This is a picture from the sink - literally. I am standing/squatting on the sink. The picture doesn't do it justice. It really looks awesome.
Next up, painting the walls. Caleb still wants me to paint the ceiling blue...and they are talking about painting clouds on the ceiling. Hmmmm, I am going to have to work my design around that request... without painting clouds. I am not too excited about that idea. But a blue ceiling might work.


I decided to attack the new shower curtain first. And of course, I couldn't just go buy a shower curtain. I had to be difficult and fall in love with this fabric during my last visit to Ikea.


I had orginally bought the fabric thinking that I would make curtains for the kid's treehouse. But alas, curtains were voted out. I had bought 4 yards and a standard sized shower curtain is 70 x 72. And my fabric was 59 inches wide. So I cut it at 2 yards, and laid the two pieces side by side, and found where the pattern repeated itself.

I pinned it very carefully...I really wanted the seams to be lined up perfectly. I pinned them overlapping, instead of back to back. The good news, my trees are perfectly lined up. The bad news...it was really hard to fit all of this fabric side by side in the sewing machine.

This is the moment I changed from boring shower curtain to fun shower curtain. I decided that I wanted an extra long shower curtain. And with grommets. But there is no Ikea in TN, so I couldn't go buy more fabric. So I grabbed one of my clearance shower currains from Target.

I cut as much white fabric as I could, from the top.

I like grommets but I don't like installing grommets. This seemed like a good way to cheat.

The sides were already hemmed, so I just needed to hem the bottom. I decided to do a wide stitch, since this thin fabric would be holding up a much heavier fabric. I really don't know if that helps anything...but I'm going with it.


After hemming the tree fabric on top and bottom (and trimming the fabric since I made the pattern line up), I attached the white top and tree bottom. I wanted my seam in the middle, and I pinned the fabrics back to back.
All I had left was to hem the extra wide tree sides to fit the size of the white fabric. I could have cut off 5 inch strips from both sides...but I opted to create huge side hems. Three reasons...one, I thought it was pointless to have 5 inch strips of wasted fabric. Two, I noticed that the tree fabric was fraying easily on the sides that I had cut. The fabric had a nice finish edge on both existing sides. Three, I'm lazy. So I folded the fabric over and made huge hems on the sides.

I headed down the hallway to hang it up. My helper came with me.


And here is my awesome shower curtain. I really wish I had a better picture. The bathroom is long and narrow, and it is really hard to get a picture of the shower curtain hanging up. Everyone loved it! (Win!!) Even Mark said that it brightened up the bathroom.

This is a picture from the sink - literally. I am standing/squatting on the sink. The picture doesn't do it justice. It really looks awesome.